
Networking the Elegoo Mars
Posted by JamesDISCLAIMER: This article is based only on my experience; it may not work for you, it may be inaccurate, and it may damage your printer! Lots of things could go wrong, so don’t blame me if your printer turns into an expensive paperweight. This does not constitute legal advice, always ask your doctor before using internally, the value of shares may go down as well as up, etc etc.
I recently treated myself to a secondhand Elegoo Mars, a resin-based (SLA) 3D printer. It’s great, but doesn’t include any capability for printing over the network.
OR DOES IT?
The Mars is based on a board from ChiTu Systems, who provide it for numerous manufacturers. Some of their boards include network capabilities, and if you have an early Mars, yours does too! It’s just hidden away! But it’s pretty easy to unlock.
I didn’t work this out myself, just pieced together a process from various places across the Internet. All sources are listed at the end of the article.
Before you start, note that this is SLOW. Using sneakernet and carrying a USB stick back and forth to your printer would be a lot quicker. But I don’t care, I’m in no hurry. If this method doesn’t work for you, look at Mariner. It’s probably better, but the nice thing here is we’re using the native capabilities of the machine.
You will need
-
An Elegoo Mars, revision
M01toM08. To find your revision, look at the first three digits of the serial number on the bottom of the machine.M09and above reportedly have custom boards that don’t have the connections available. Sorry! -
Up-to-date Elegoo firmware. I’ve only tried this on my machine, which was running
V4.2.20.3_LCDE /1440x2560 /F2.9 FW. If you’re running something older, look at the instructions on the Elegoo Mars forum, you might need to do a couple of other steps. -
The hex keys that come in the Mars toolkit
-
A FAT32-formatted USB stick
-
If you want Wifi, a ChiTu Wifi module. This only cost me about £6 including shipping, and it came all the way from Shenzen in about a week.
-
A healthy disregard for product warranties
Break open the UI
First thing we need to do is get access to the network settings on the machine itself. The code is all there in the firmware, but it’s hidden away.
ChiTu’s firmware is interesting in that it separates out the core machine firmware from the user interface firmware. That means we can replace the UI firmware with a version that will give us access, without touching the fundamentals of the machine or any actual settings. ChiTu’s download page even has an app that lets you build a custom UI, presumably so that any manufacturer can create their own interface. The really useful thing is, it comes with default firmware that has everything enabled.
-
Go to the ChiTu download page, open the “ChiTu UI editor” section, and download
UI_ALL_LCD.bin. -
Put that bin file on your empty USB stick, and insert it into your Mars.
-
On the Mars, print that file. You should get a progress bar and after a few seconds, confirmation that it’s worked.
Your user interface will now look a bit different, and in the System menu, you should see a new section called “Network”.
Connect up with Ethernet
Now that we’ve got visibility of the network settings, let’s connect up.
-
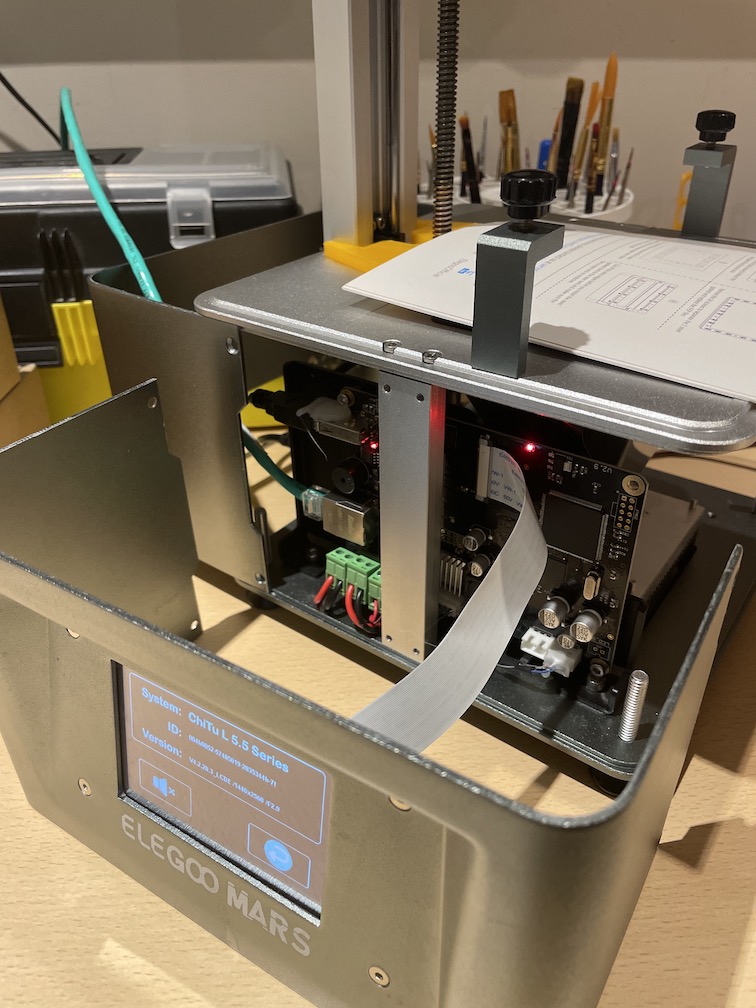
Unscrew the four screws in the rear side panel. You might want to slacken off the screws on the top and bottom that hold the vertical pillars in place too, so you can move the panel.
-
Slide the rear panel off. On the left of the machine, you should see the motherboard, and on there if you have the right variant, you will see an RJ45 connector.
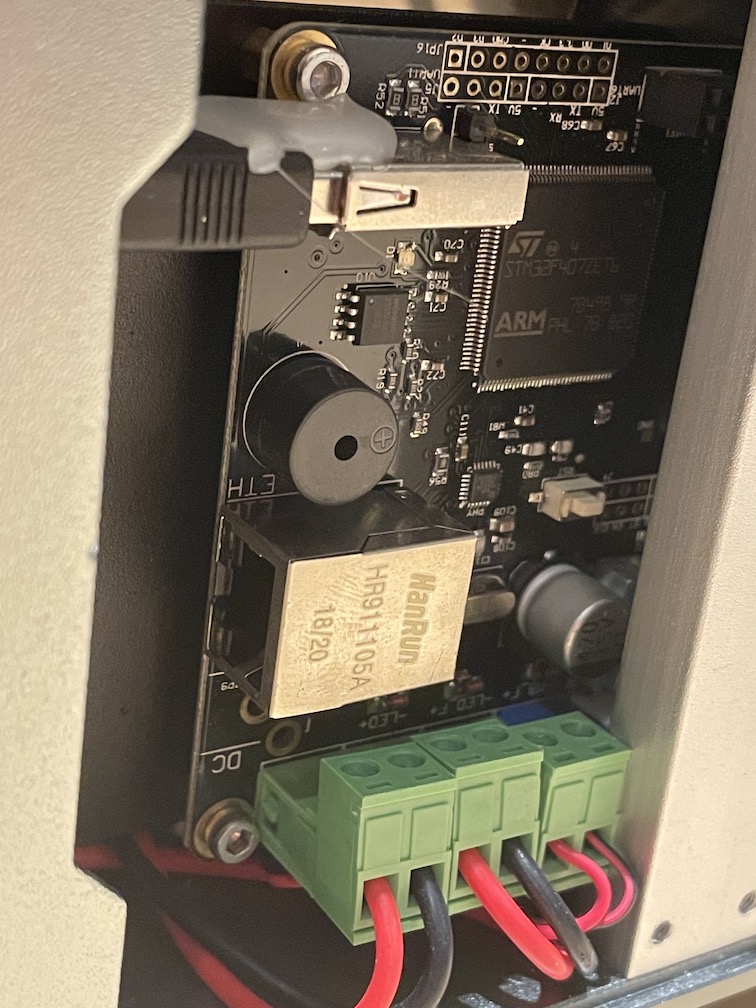
-
Plug in an Ethernet cable and turn the machine on. When you go to the network settings UI we enabled in the last step, you should see it get an IP address.
Congratulations! Your Mars is online. If Ethernet is good enough for your needs, then you’re basically done with the machine itself, except you’ll need to find a way of getting that cable out of the box so you can close it back up. A decent way might be to print a backplate with a hole in it, though I might get round to making one that takes an actual RJ45 extension connector at some point so you can unplug it without disassembling the machine. Watch this space.
Connect via Wifi
If you want Wifi though, there’s a bit more to do. It’s time to install that ChiTu Wifi module.
Note: It might be possible to use any old EPS8266 board, but from the Wifi page on ChiTu’s website it seems you still need to buy some sort of official code even once you’ve installed their firmware. Still, if you try it, let me know if you get it working!
-
Remove the front panel from the printer in the same way as you did the back, and slide it out. Don’t break the display ribbon cable.
-
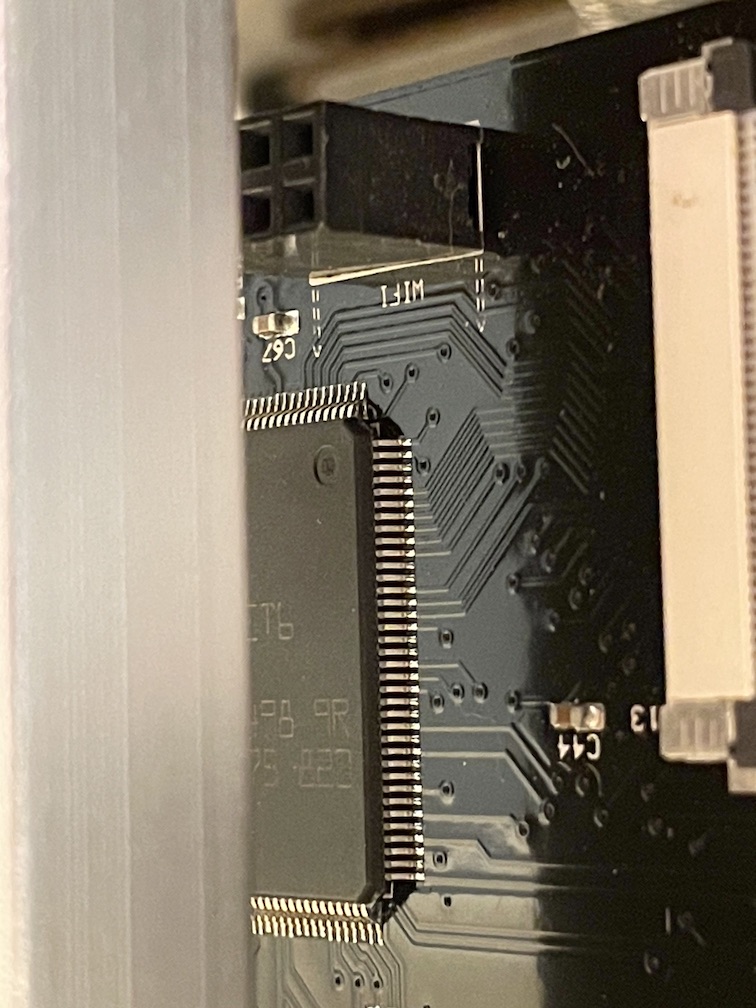
Take a look at your board. You’re looking for a black 8-pin header at the top of the board, snuggled behind the vertical pillar. It’s got “WIFI” written underneath it. If you’ve got one, then you’re good to go.
-
Unscrew the top screws from the vertical pillar, and loosen the bottom ones, so that you can move the pillar out a bit. I used the panels to hold up the top while I did this.
-
With the pillar moved out a little, you should be able to insert the Wifi module into the black header (obviously do this with the printer off). It fits pointing downwards towards the other side of the motherboard, not sticking up above it.
-
Turn on your printer. You should see a red LED come on on the Wifi module.

-
Reassemble the vertical pillar and fix the front and rear panels back into place.
-
Get your USB stick, and create a file called
wifi.txton it (the name doesn’t really matter). In that file, add the following line, with your Wifi network details. Mind the quotes:M9003 '"YourWiFiName","Password"' -
Insert the USB stick into your printer, turn it on, and print the text file. After a few seconds, it should finish.
-
Look at the system network settings page - flip the display to Wifi by clicking the icon in the top left. You should see your SSID on the page, and with luck, an IP address! It’s alive!
Enable network connections in ChiTuBox
The final step is to enable network support in ChiTuBox so we can actually send things over. Make sure you leave your USB stick in the Mars, the machine doesn’t have any other storage so it will store your prints on there.
-
Open ChiTuBox. I’m running v1.8.1, so these instructions are for that version. Yours may differ.
-
Export your configuration. In my case, that was done via Menu / Help / Export Configuration. Save the file somewhere you can find it.
-
Load up that file in your text editor of choice.
-
Search through the file for anywhere it says
bNetSending:0, change it tobNetSending:1, and save. -
Back in ChiTuBox, import the configuration file.
Now, when you have sliced your print, above the save button you should see “Network Sending”. Click that, and you should get a dialog appear with your printer listed in the dropdown - ChiTuBox has found it automatically over the network. Hit send, and your file is on the way! (It WILL take ages, make a coffee or learn to juggle or something).
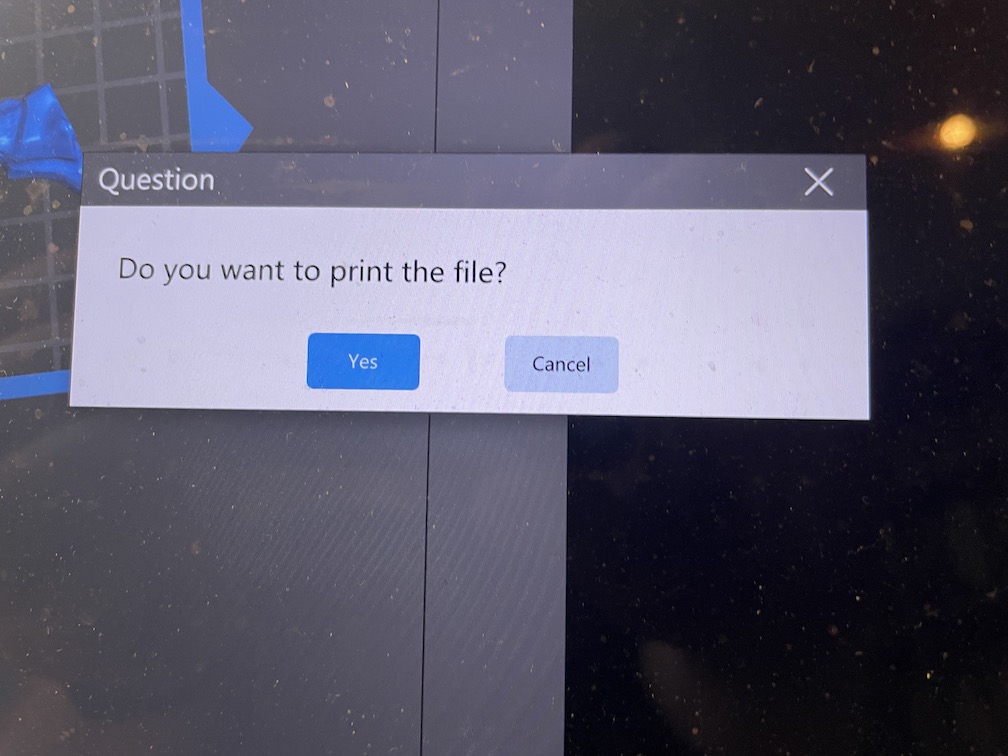
Once the upload is complete, it will even ask you if you want to start the print! Proceed to enjoy the feeling of success as you start a resin print without leaving your chair. You can also print the file from the screen in the usual way, the file is on the USB stick just as if you’d copied it there yourself.
ERROR: lp0 on fire
Thanks to everyone who came before me:
-
u/mmm1808 on Reddit for asking the question that got me started on this.
-
The admin of the Elegoo Users Forum, for their fantastic instructions using the EPAX UI. If something here doesn’t work for you, read that thread.
-
ChiTu for providing firmware downloads, documentation, and detailed instructions for their boards. Even though it’s not open source, they’re pretty open with their information. Thanks folks.
-
And of course Elegoo for making a wonderful machine!
Comments
Add a comment